Support Document
 Support Document
How to Manage Vendor for Item in iPad
You can maintain your regular vendor list and also manage sales representative of each vendor if any. You
can set one or more vendor for your Item or sales representative for your Item. So by clicking on the
particular item you know the number of vendor list for the same item with contact info.
- Open RapidRMS application in your iPad.
- Select Inventory Management from the dashboard.
- Enter your valid passcode to access Inventory Management Module.
- Click on New Item from the bottom of the page to add new Item or click on an item from the list to
edit existing Item.
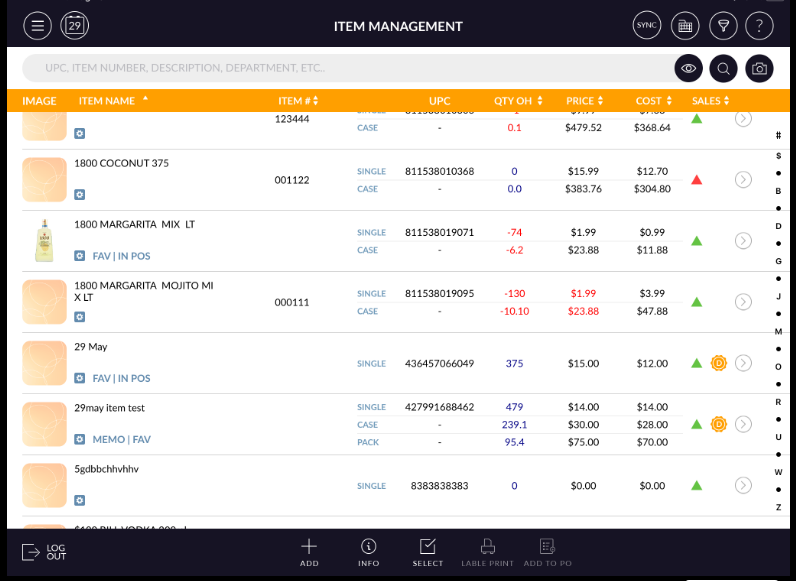
- Add/Edit Item screen will open.
- In the top of the screen, it has Info, Pricing, Discount, History and Options tabs.
- It has a vendor section under the Info tab.
- Click on > to select a vendor for Item. The vendor list will open.
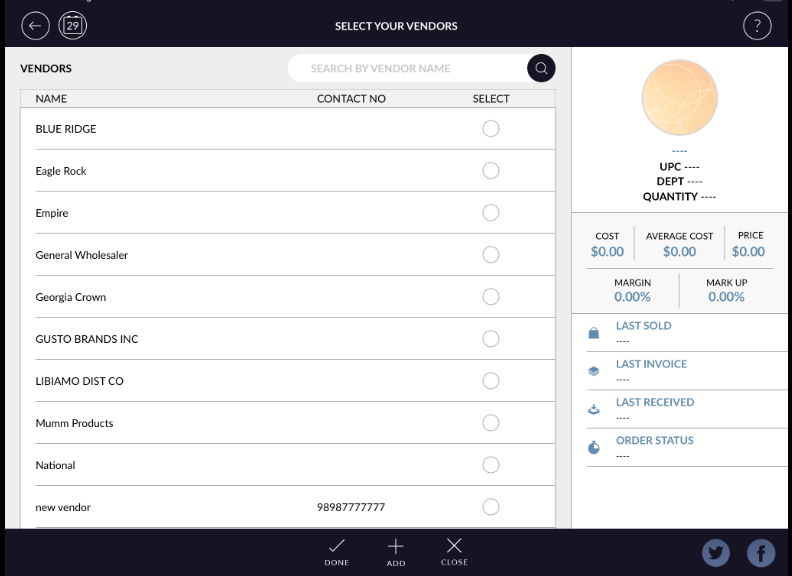
- Select any vendor from the list or click on Add New Vendor button from the bottom of the screen to add
a new vendor.
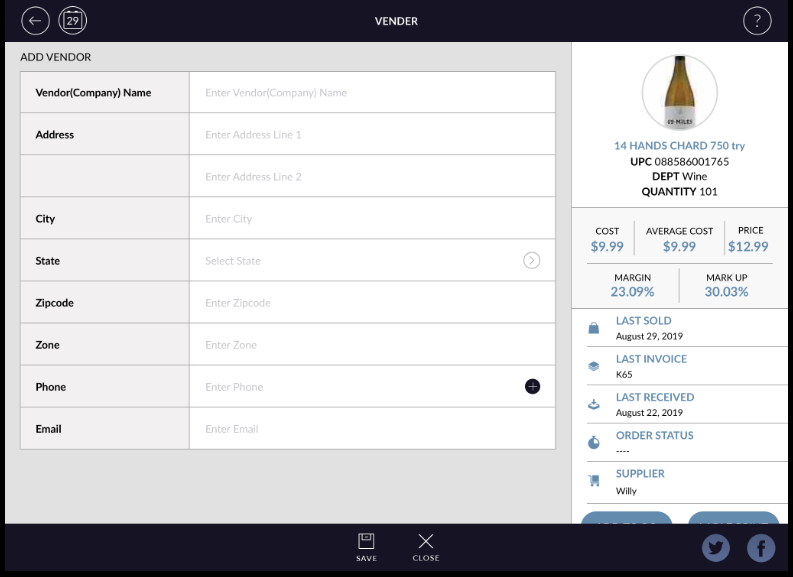
- Fill vendor necessary detail and click on save button. The added vendor will appear in the list.
- If you want to add sales representative detail, first select vendor from the list.
- The vendor marked as selected and > sign will appear in the right side.
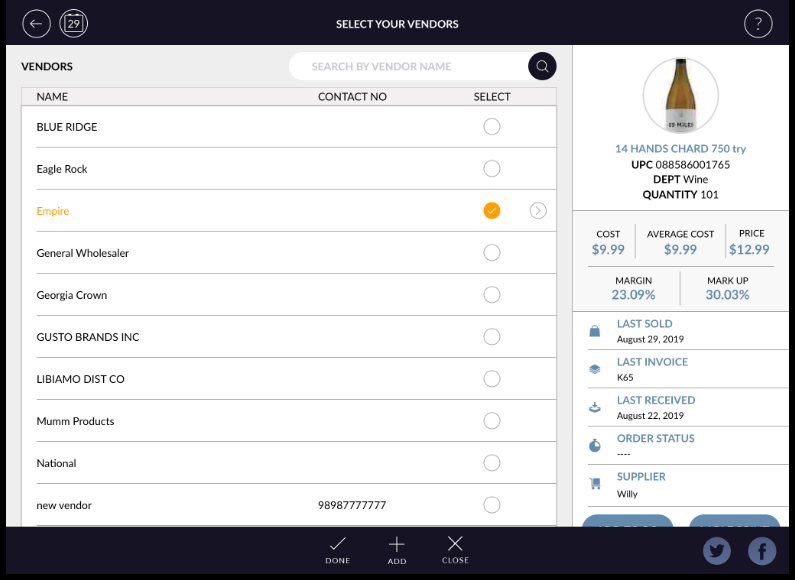
- Click on the > sign. Sales Representative window will open.
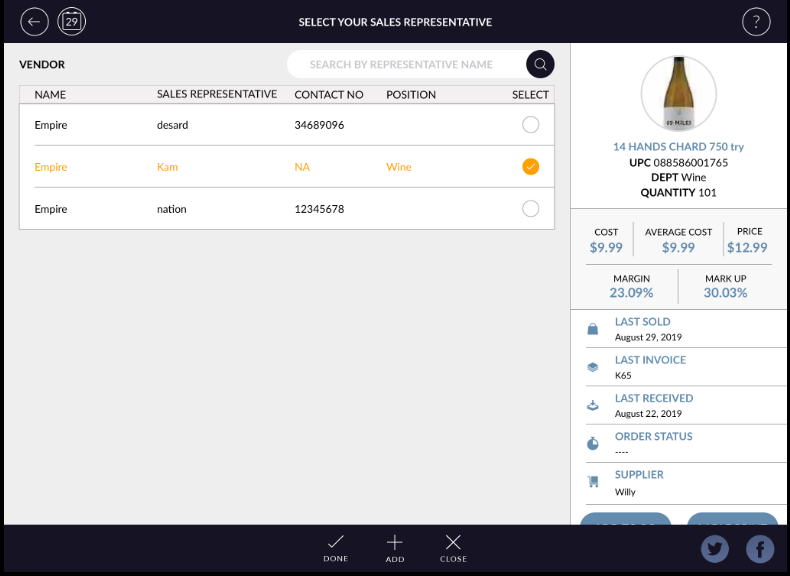
- Select Sales Representative from the list or click on Add Representative button from the bottom of the
page.
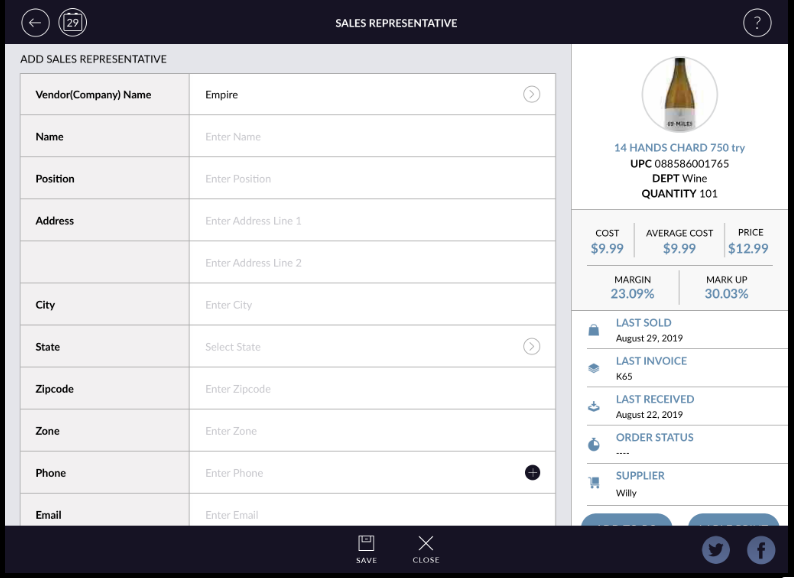
- Add necessary detail and click on save button. Added sales representative will appear in the list.
- Go back to Info page.
- Selected vendor and sales representative detail will appear below the supplier field.
- Click on Save button to apply changes in Item.