Support Document
 Support Document
How to Manage Item Option in iPad
You can set various option for your item like set your item as a favourite, Inactive your Item, Display your
item in POS, set payout facility in a particular item, set Pass to ON for particular Item and set days
validation for a pass, etc.
Here are the options for how to set various options in your Item.
Here are the options for how to set various options in your Item.
- Open RapidRMS application in your iPad.
- Select Inventory Management from the dashboard.
- Enter your valid passcode to access Inventory Management Module.
- Click on New Item from the bottom of the page to add new Item or click on an item from the list to
edit existing Item.
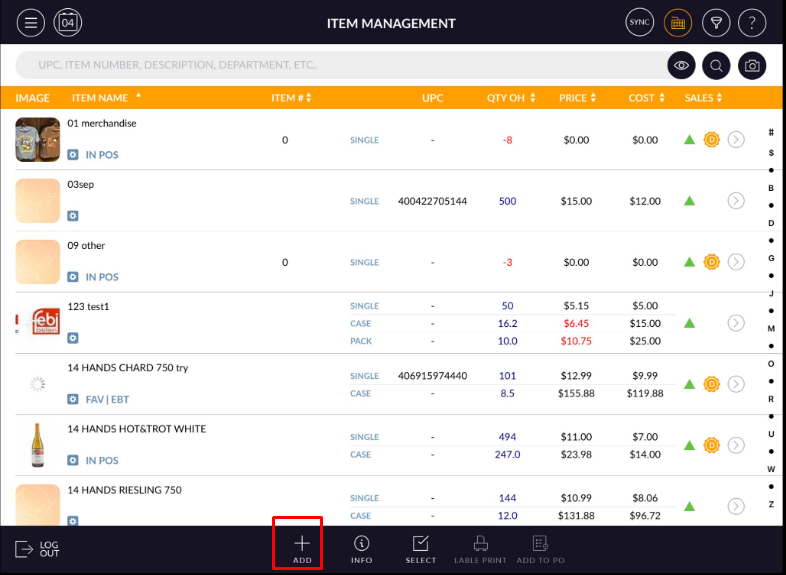
- Add/Edit Item screen will open.
- In the top of the screen, it has Info, Pricing, Discount, History and Options tabs.
- Click on Options tab from the top of the screen.
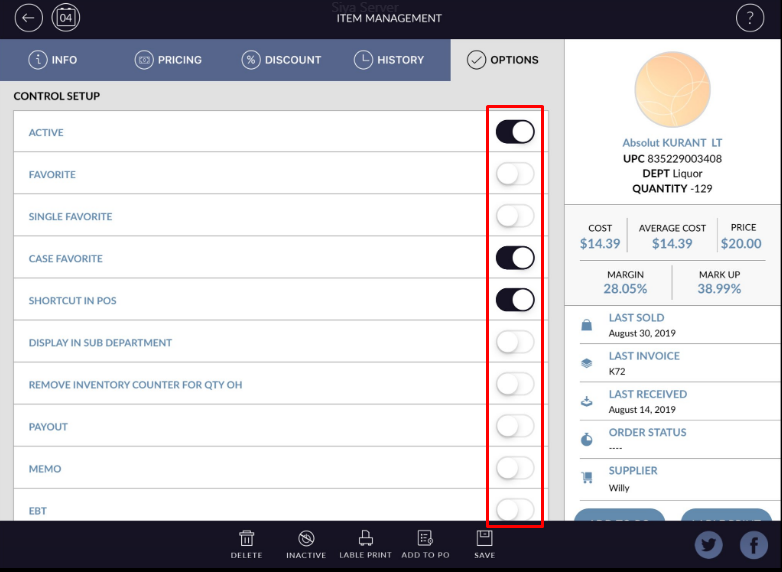
- Set the “Active” option to OFF if you want to inactive Item. Default it is ON.
- Set “Favorite” option to ON if you want to add item in favourite list for Cash Register module. Default it is OFF. Same for case/pack and single favourite.
- Set the “Shortcut in POS” option to ON if you want to display item at selling time. Default it is ON.
- Set “Display in sub-department” ON if you want to add an item under sub-department section in POS.
- Set the “Remove Inventory Counter for Qty OH” option to OFF if you want to add on hand quantity (Item stock) value. Default it is ON.
- Set the “Payout” option to ON if you want to give payout facility for this Item. Default it is OFF.
- Set the “Memo” option to ON if you want to set a memo facility for this Item. Default it is OFF.
- Set “EBT” option ON for directly apply EBT in item at pos.
- Fee/Deposit option is for set fee/deposit in an item. Keep option ON and all available fee/deposit option will display you can add fee/deposit from the list.
- Set “Pass” to On. Default it is OFF.

- Enter the number of days for pass validity in Valid Days field.
- Select All Days option if you want to set pass validity for all days of the week.
- Select specific days if you want to set pass validity for specific days of the week.
- Set an expiry option to on if you want to set an expiry period for the pass. Days to Expiry field will available.
- Set total number of days in Days to Expiry field. After a specified number of days, your pass will expire.
- Specify minimum Item Stock level and Maximum Stock level. If your stock will go to below minimum stock level you will get alert for specific Item.
- Click on Save button from the bottom of the page to save the detail.