Support Document
 Support Document
How to add Item image in iPad
You can add an image in your Item to set it more informative at POS time.
Here are the steps how to add an image in your Item.
Here are the steps how to add an image in your Item.
- Open Rapid RMS application in your iPad.
- Select Inventory Management from the dashboard.
- Enter your valid passcode to access Inventory Management Module.
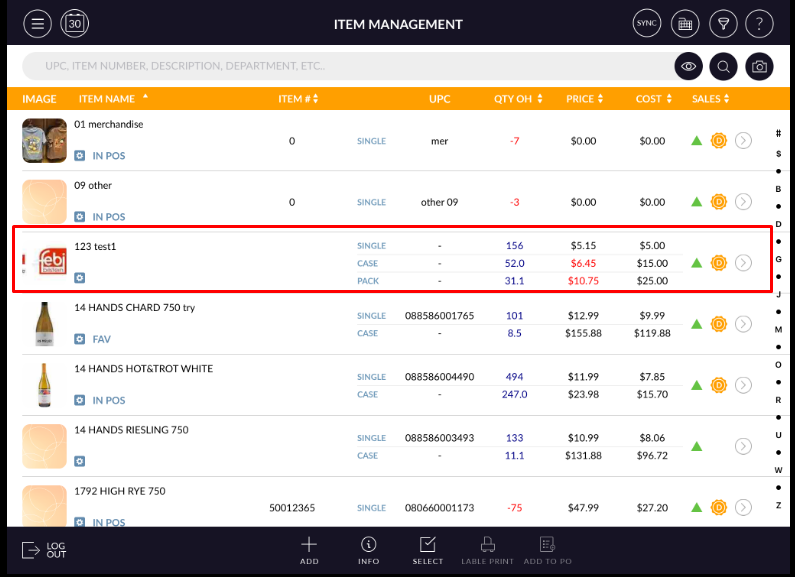
- Click on an item from the list to edit existing Item.

- Edit Item screen will open.
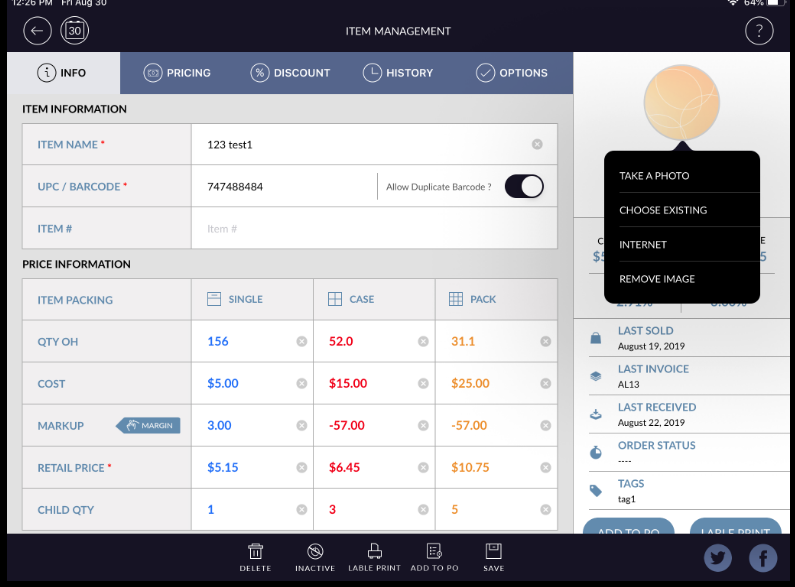
- Click on No Image from right side of the screen.
- It has to Take A Photo, Choose Existing, Internet options for add image.
- You can remove an image by selecting the Remove Image option.
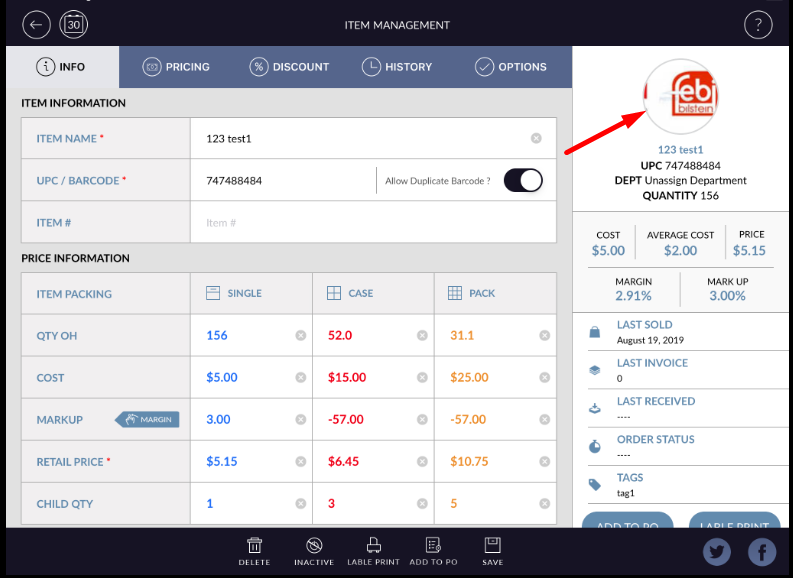
- The added image will display in image icon.
- Click on Save button from the bottom of the page to save the detail.
- The added image will display in the whole system as where an item is listing.